Starting from scratch
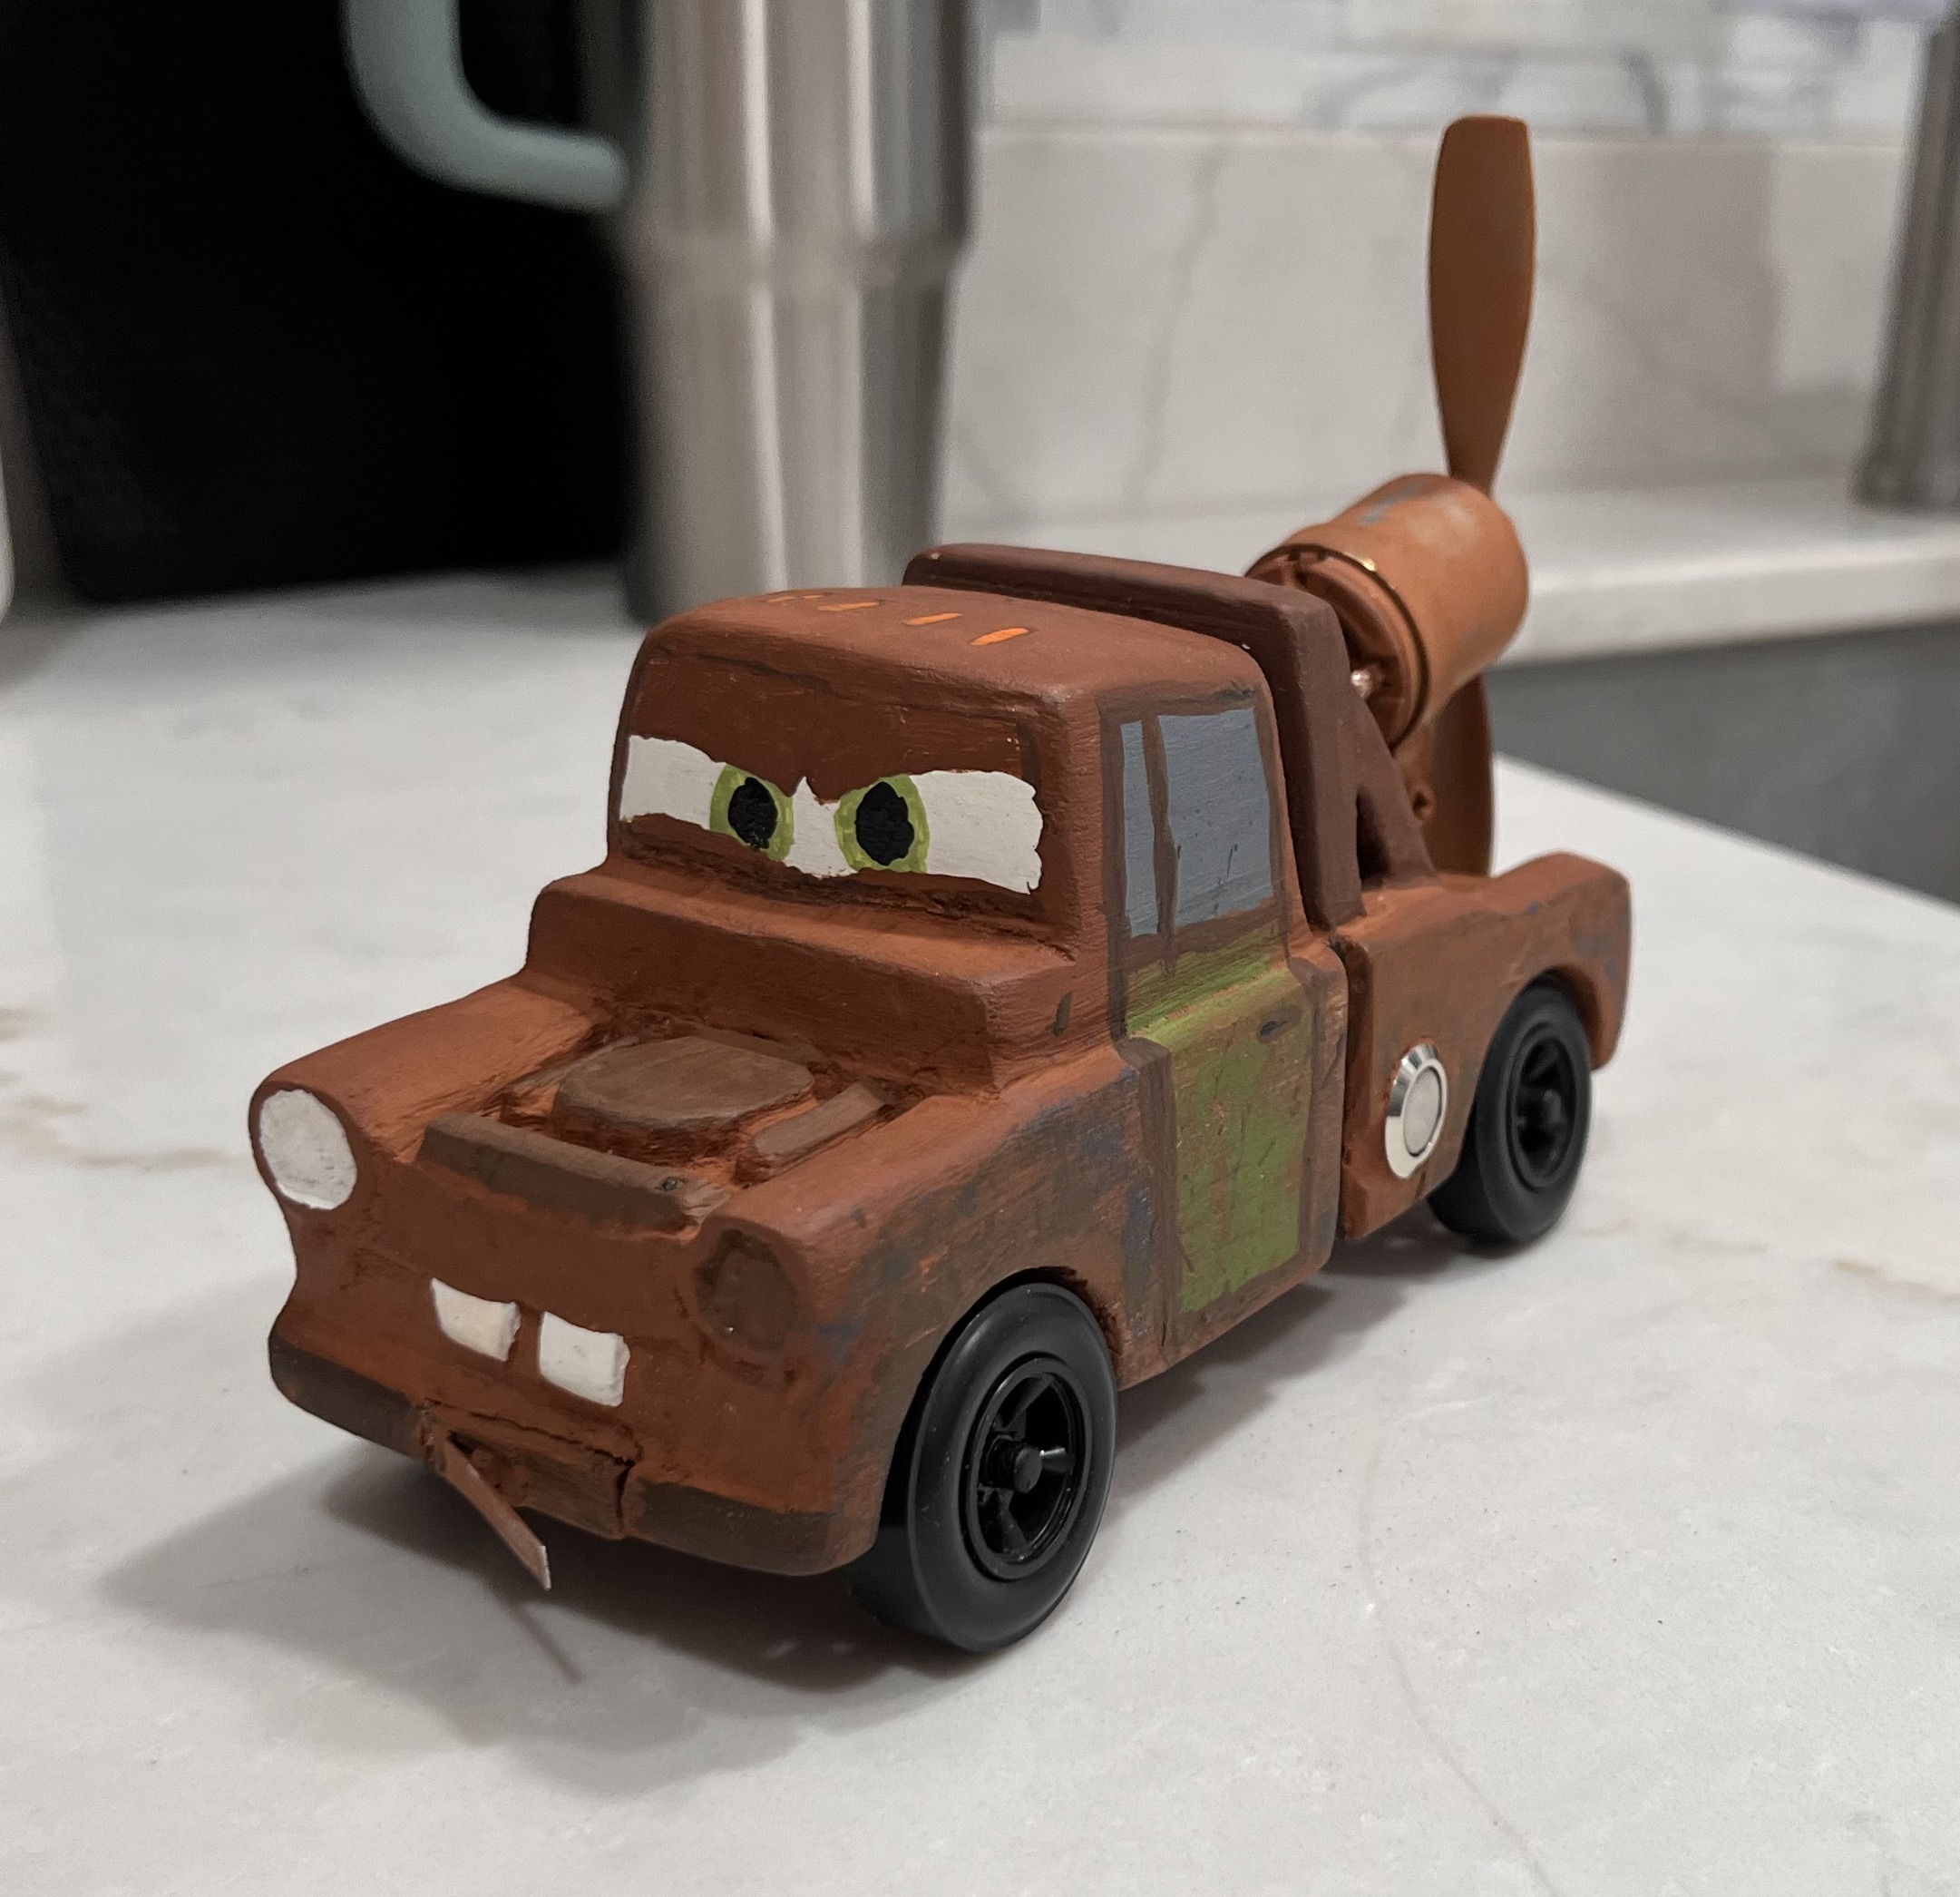
So I have always loved miniatures. Sure I’m still learning how to make things realistic and definitely still learning how to use tools correctly and media for small crafting but I try. I have made signs, speakers, knife handles, gun grips and stocks. This comes to mind because of a pinewood derby car that I made that looks a little like Mater, from Disney’s Cars.
I had just moved states and I didn’t have access to all the tools that I would have liked but I was able to make a pretty decent pinewood derby car that turned some heads. My main tools were a box cutter and a Dremmel. If anything, let this be a lesson in creativity and resourcefulness.
I knew two things: I wanted to add a propellor (because the only rule was it wasn’t allowed to be rocket powered) and I wanted to win some kind of award other than fastest just in case someone thought of something better than me for propulsion. (spoiler, I wasn’t the fastest)
I bought the block and started working on a design that would make sense with a propeller added on the back.

A tow truck swinging around the hook and rope seemed like a built in propellor to me so I went with a tow truck. I even had a little blue Mater toy for reference. I used a standard block and glued another block to it, just the width of two wheels, this way I could have fenders that would come out and cover the wheels on both sides. I used the remainder of the block to make the top half of the cab and the cage in the back that supports the tow crane.
After drawing on the plans here’s clarification of how I cut and glued the block together. The blue was one solid block and the white one was cut into three pieces and glued to it.

The cuts were made with a hacksaw I had and the carving was done with a utility knife or boxcutter. Don’t make any excuses or wait until you buy all the tools. You’d probably only use them once anyway.

Little by little I shaved off pieces that needed to come off. I also sanded when I could to get the rounding started. The hardest part was using the knife with the grain going all different ways. It was trying at times to be patient and slow and steady. It took a couple weeks to get it to where the wheels could go on and the painting could start.

Painting was probably the most satisfying thing to do though.
Just remember that everything is rough and you can always make things up as you go. keep changing and adding things to make it better. Especially with wood grain this big it was tricky figuring out how the grain would react to the cuts and what it would allow me to do.


I just had to keep adding little things at a time. It took a couple coats to get a color that I liked and I tried to make it look a little dirty. Some of my best advice I can give is to just go with it and the less you try to make it perfect the better it will be. You can’t make it perfect so as long as it is consistently good it’ll all work out.
Then I got to add the wheels and the motor.

This was fun to trouble shoot. Trying to keep the look I wanted while adding a motor with a prop. Somehow it fit though. I hollowed out his head and was able to fit two 9v batteries in series and I ran the power through two switches. One was at the front and was a temporary switch that would turn on when the gate dropped. The other was a normal push button on off switch that I tried to hide as a gas cap, maybe it was a little too shiny but it worked out. then I used some brass tubing to hide the wires to the motor.


Then all he needed was some more paint and a clear coat and off to the races!
He didn’t end up winning, he was too heavy for the motor, I should have tried to hollow him out as much as possible and used one battery but it was still fun and I did win bragging rights for his looks.